Standard Screenshots
Follow these steps to place an image or screenshot inside a cell to save screen space. You can then toggle between in-cell display or full size display by clicking on the icon in step 8 below.
One key constraint when using this standard Excel procedure is that despite the full image of a scrolling document being displayed when first pasted, only a condensed image will be displayed after closing and subsequently accessing the document.
To paste and save a screenshot of a scrolling document, see Calculations / About Using Excel / Supporting Documents / Screenshots – customised.
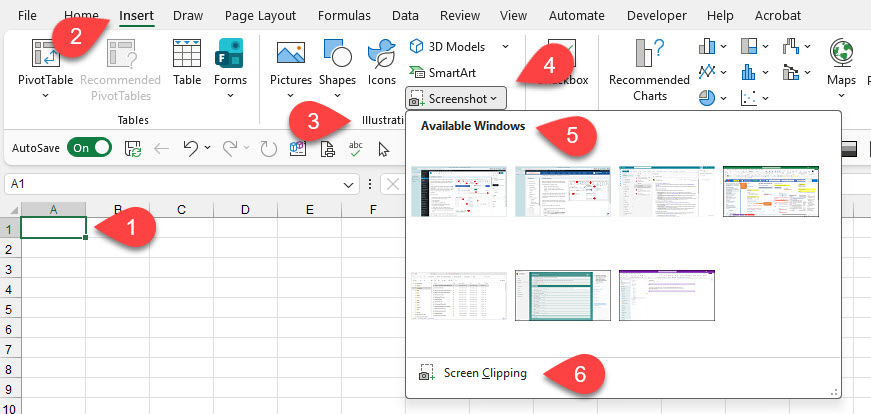
This is how you paste a single page screenshot –
- Select the cell where you want to insert the image;
- Choose Insert on the main Excel menu;
- Select Illustrations;
- Then Screenshot;
- Either choose an Available Window;
- Or choose Screen Clipping and select the area;
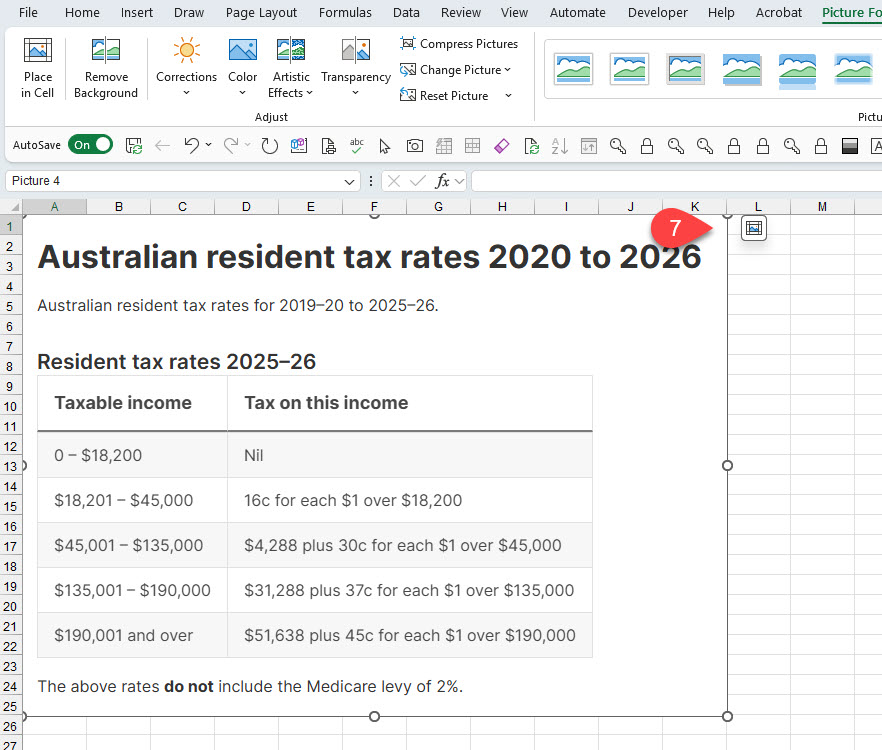
- Image will be inserted and displayed. Click icon to hide; and
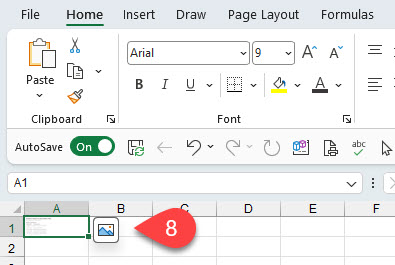
- Click icon to show the image.
Screenshots can be –
- Moved – click on the image and drag;
- Resized – click and drag on any of the 4 corners to resize, otherwise the image will be distorted.
- Deleted – select image and press delete on your keyboard; or
- Stacked – where space in the destination sheet is tight, multiple images can be stacked on top of each other. See Excel help for more info.
Note this will only currently work with our JobPaper files which relax protection in most of the sheets and allow insertion of images. For other files, use the DIY sheet or any dedicated screenshot cells that we include with the file.